Keeping your roller skate bearings clean is one of the most important and common skate maintenance activities that every serious roller skater needs to learn. So, today’s article is focused all on how to clean roller skate bearings.
Keeping your skate bearings clean not only ensure that your quad, rollerblades and inline skates will spin more freely, but it also helps to improve the entire bearing life of this important component. If they get too dirty, your roller skates will start to slow down and that makes it challenging to move around the rink.
In this blog post, I’ll teach you my 12 step process for how to clean your skate bearings so that you can enjoy a smooth and graceful skating experience. I’ll go over all the steps and the right tools to get the job done easily.

How To Clean Quads, Rollerblades & Even Skateboard Bearings
The process to clean roller skate bearings and to clean skateboard bearings is pretty similar. So, many of the tips provided below can work for inline skate bearings, quad roller skates, rollerblades and even skateboard bearings. There are just a few key differences that I will mention in the steps below.
12 Easy Steps To Clean Your Roller Skate Bearings
- Loosen the Axle Nut or Screw on Each Wheel
- Remove the Wheel from the Skate
- Remove Both Bearings from the Wheels Using Your Choice of Tools
- Remove Rubber Shields or Metal Shields from the Bearing
- Clean Bearings Using One of the Recommended Methods
- Remove the Bearings from the Cleaning Solution and Dry Them
- Apply a Few Drops of Lubricant or Speed Cream to each Bearing
- Add the Shields Back onto Each Bearing
- Put 2 Bearings Back into Each Wheel
- Slide Each Wheel onto Your Skates
- Reattach the Axle Nut or Screw
- Test Out Your Just Like New Bearings!
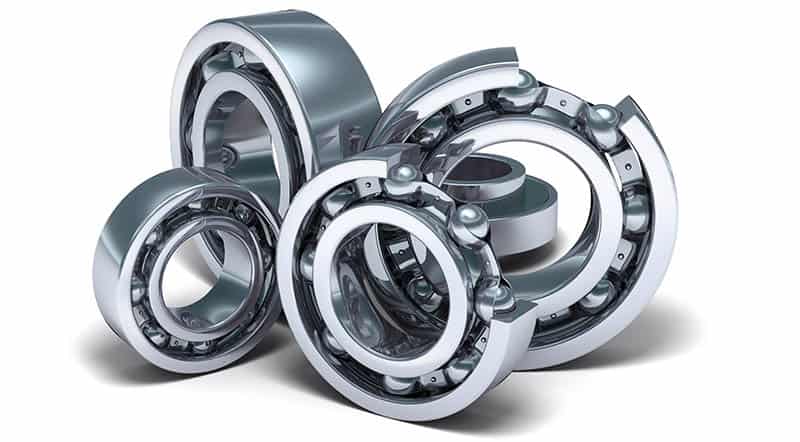
When it comes to skating, having clean and well-maintained ball bearings is essential. Not only will it keep you skating smoothly, but it will also prolong the life of your bearings. Here is a simple guide on how to clean your roller skate bearings.
1. Loosen the Axle Nut or Screw on Each Wheel
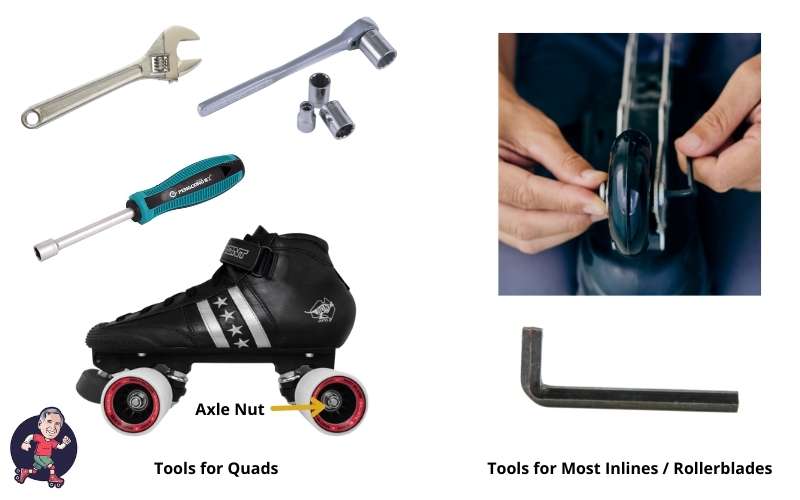
First, on quad skates, loosen the axle nut on one of your roller skate wheels using a socket wrench or a skate tool. Take the nut completely off and store it in a little cup for safe keeping.
Inline skate bearings are handled a little differently. Most inlines have an axle screw that you loosen and then remove from the frame. Pull the axle screw out and put it in a safe place.
2. Remove The Wheel From the Skate
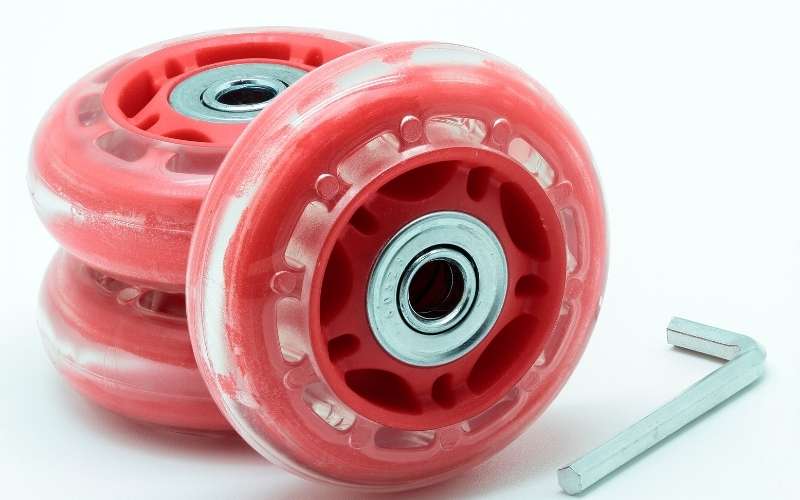
After you have removed the axle nut or screw, we need to remove wheels from the skate plate or frame. Gently pry the wheel off the axle for quad skates. For roller blades, slide the wheel out of the skate frame. If you are struggling with these first two steps, see my article how to change roller skate wheels.
Continue this same two step process for all of the skate wheels on your skates. When you are done, continue to step 3.
3. Remove Both Bearings from the Wheels Using Your Choice of Tools

Next, we need to remove the bearings from the wheels. This process is the same whether you are removing quad or inline skate bearings.
You have your choice of tools for performing this step. I wrote a whole article about how to remove bearings from roller skate wheels if you want a more detailed guide. However, the steps are pretty simple.
You can use one of these skate tools and methods to remove the bearings:
- Use a bearing puller. This is a special device made explicitly for pulling bearings out of skate wheels. I personally use the Bones Bearing Puller and it works quite well. You simply insert the puller into the bearing and then pull until the bearing pops out. Then, flip the wheel over to the opposite side, and do it again. Tada! All done!
- Use a bearing press. This is another special skate tool that not only can pull bearings out of wheels but also makes it super easy to put them back in. I recommend and use the Sure-Grip Bearing Press. It makes removing and putting bearings back into wheels a whole lot easier. The bearing press has a little nub on the front of it that you use to pry the bearing out of the wheel.
- Use a screwdriver and a hammer. You can go old school and use a small screwdriver and a hammer to remove the bearings. You slide the screwdriver into the bearing hole and tap the screwdriver with a hammer to pop the bearing out. This is how I used to always change my bearings when I was young and didn’t have fancy tools. You just have to be careful that you don’t hit too hard and damage the bearing.
- For quads, use the axle of your skate. Slide the wheel onto the axle at about a 35 degree angle where the axle meets the bearing. Then, hit the wheel with your hand to pop the bearing out.
Once you have the bearings out of every wheel, move on to the next step.
4. Remove Rubber Shields or Metal Shields from the Bearing
Once the bearings are out of the wheels, you have the optional step of removing the bearing covers. I always do this when I clean my skate bearings, but some people don’t do this step. I do it because I feel it helps to get the bearings more clean than if you leave them on.
The bearing shields are usually made of plastic or rubber and are easy to remove with a safety pin. If you don’t have a pin, a paper clip pulled apart can also work but is a little more difficult to manage.
Just open your safety pin and use the pointing pin end to stick it into the rubber shield. Then, pull the bearing shields out of the bearing. After you do this step, you should be able to see the ball bearings on both sides of the bearing.
Place the bearing shields into your small cup along with your axle nut / screws once you’ve removed them from the skate bearing.
5. Clean Bearings Using One of the Recommended Methods
Now it time to clean bearings! There are a number of methods you can use here depending on what you have on-hand. From specifically formulated bearing cleaner to simple rubbing alcohol, mineral spirits or acetone, there are a number of liquids you can use to get clean bearings.
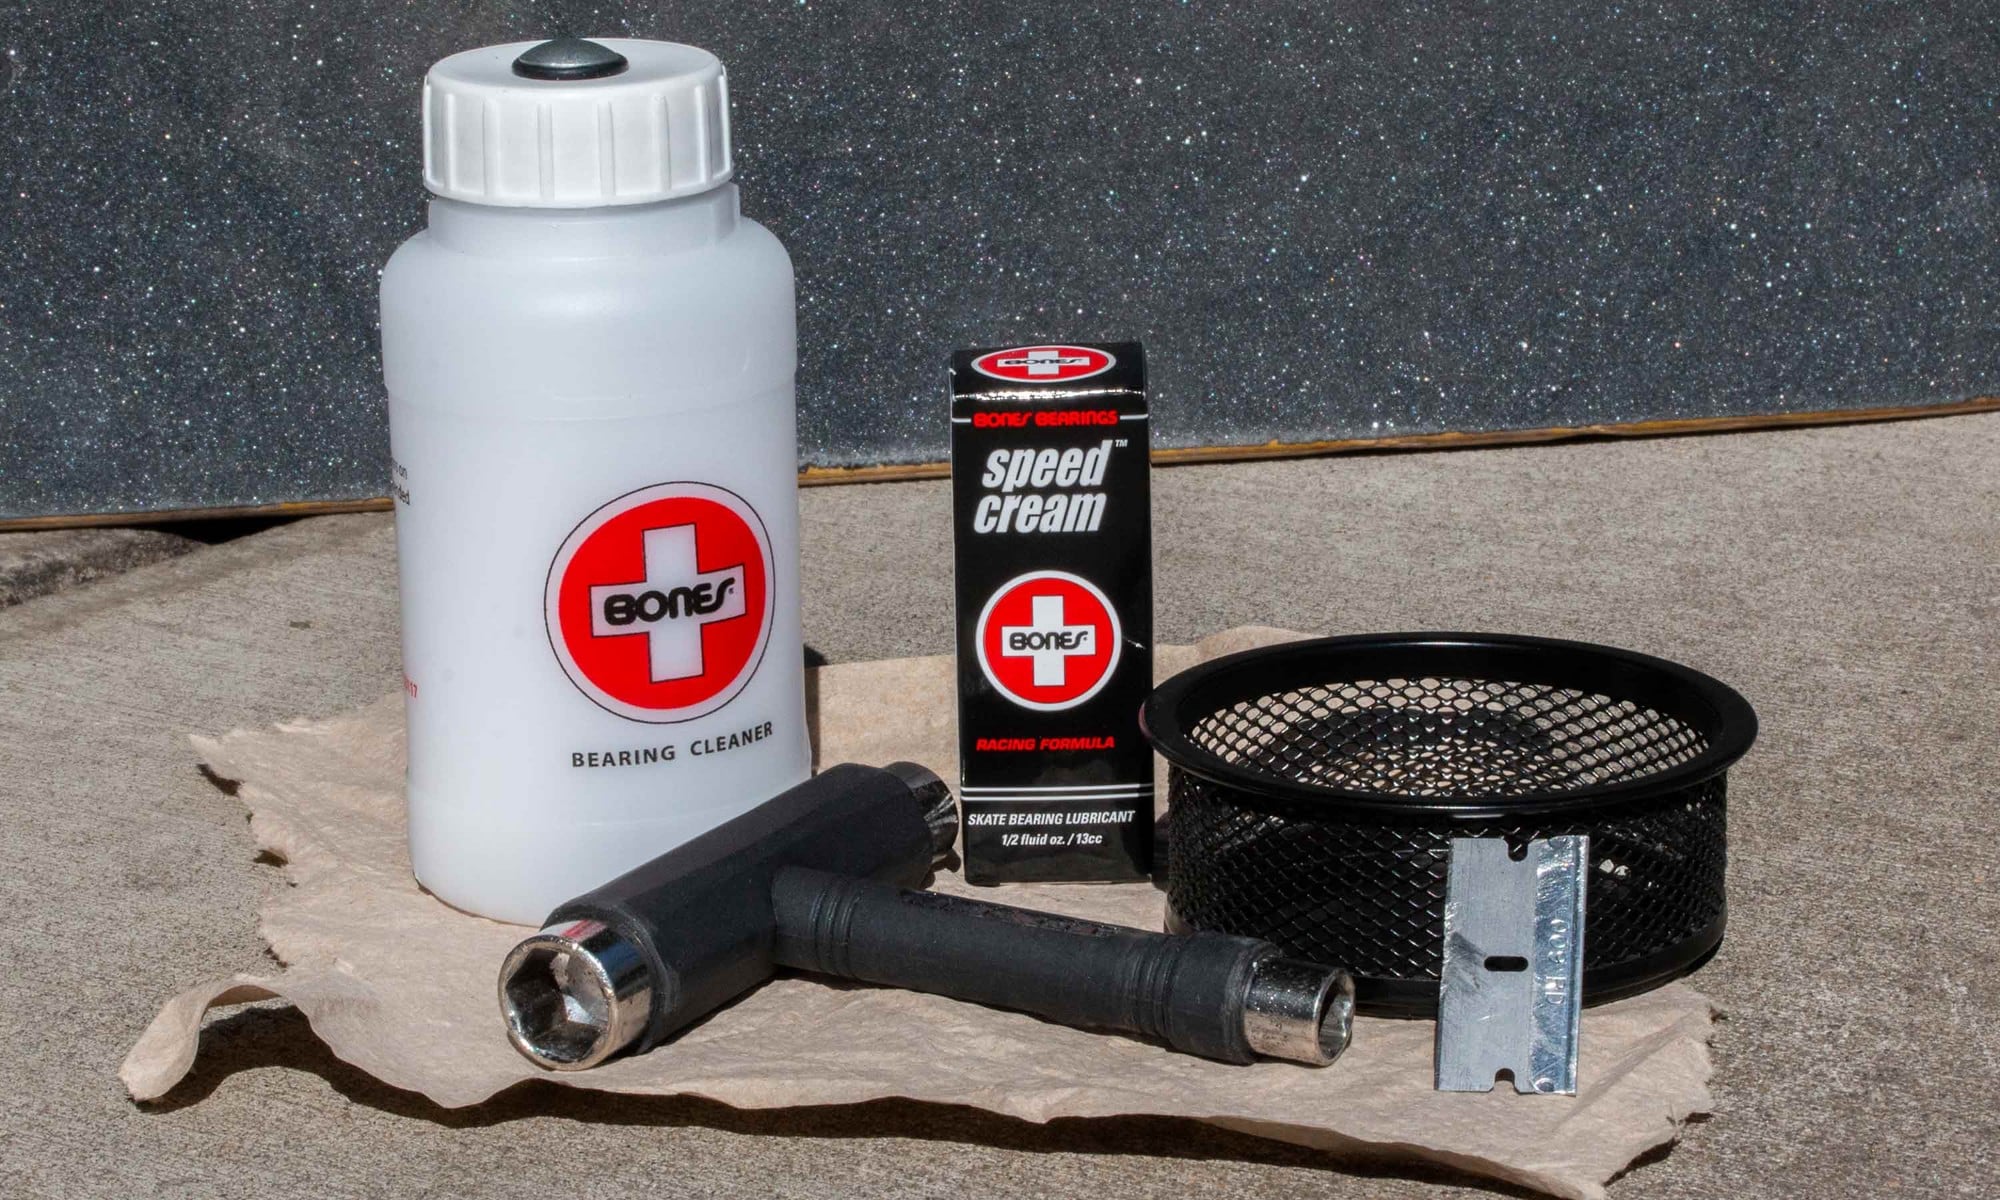
My favorite method is to use a special bearing cleaner kit to clean my bearings. These kits are really nice because they are a simple one off bottle that you use for cleaning the bearing and then you just throw it away when you’re done.
They typically have a basket that you place the bearings in or a small, plastic stick that you slide the bearings onto. Then, you place this basket or stick into the bottle and shake vigorously for several minutes. I usually leave mine sitting in there to soak for a couple of hours – giving it a shake every now and again. This helps to get any gunk off (technical term). 🙂
Here are a couple of the kits offered by skate companies that I have used:

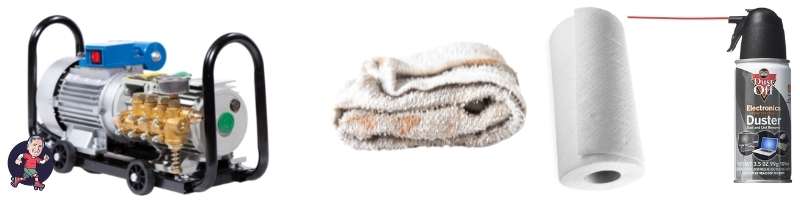
- Sonic Turbo Wash System
- Sonic Turbo Wash Cleaning Solution
- Bones Cleaning & Lube Kit – it comes with a bottle, bearing puller and lube, but no cleaning solution. This is the one I bought and reuse over and over again.
All of the above are around $15-$30. They help to keep everything contained and clean. If you are a little more budget conscious or eco-friendly and don’t want to just throw the kit away, you can then just buy more cleaner for the kit. This is typically what I do. We already have enough plastic.
However, you don’t need all of this “fancy” equipment. Straight isopropyl alcohol, rubbing alcohol, acetone or mineral spirits will also work. Many of these just smell bad and you probably want to wear gloves when using them (especially acetone). However, they are all cheaper than the bearing cleaner kits and can be found everywhere.
After you have the bearings in your solution of choice, cover your container and lightly shake it to help get the dirt and grime off of the bearings. Continue this shaking for a couple of minutes.
Also, if cleaning solutions are not your idea of fun how about using an air compressor or canned air to blow the dirt out of your bearings instead? I had friends on the speed team at my local rink that claimed this method worked well for them. I personally don’t find this to clean bearings well enough to my liking, but to each their own.
Finally, a quick note. Never use WD-40 or motor oil on your bearings. You can use paint thinner, but I would personally stay away from all of them, They dry out bearings and can ruin them over time.
6. Remove the Bearings from the Cleaning Solution and Dry Them
Next, it’s time to get those bearings dry!
Lay some paper towels or a dry rag down and pull your bearings out of the solution. I typically lay several layers down and then place all the bearings on top. Then, I grab a paper towel and pat them dry. Turning each bearing over and removing the outside residue.
If you are in a hurry, you can dry the insides more quickly using canned air or a hair dryer using the cool air setting only (heat from a hair dryer can damage a bearing).
Otherwise, if you have the time, grab a cold drink of your choice and sit and wait for the bearings to dry. I usually wait an hour or two – make some lunch, go for a walk, fold some laundry.
You want to make sure you have completely dry bearings before you move onto the next step.
7. Apply a Few Drops of Lubricant or Speed Cream to each Bearing

Next, you have the optional step of adding some speed cream, lubricant or grease onto each bearing to re-lubricate it. This really helps give your bearings their best performance and will make your clean bearings feel more like new bearings! Who doesn’t want that? 🙂
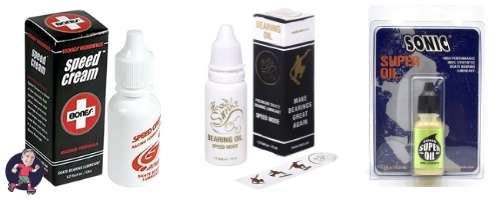
Here are a few of my favorite speed creams / lubricants:
Just a couple of drops of speed cream, lubricant or grease on each bearing will do. I typically add a drop and then spin the bearing. Then, I add another drop and spin it again. Do this until the bearing spins freely.
8. Add the Bearing Shield Back onto Each Bearing
Now that we have clean, dry bearings with speed cream / lubricant on them, it’s time to add all of the bearing shields back onto the bearings.
Grab only one bearing and push the rubber shields one by one back onto the skate bearing. Make sure the shields are put on the correct side of the bearing. Many shields also have company logos or phrases on them. You want the words on the rubber shield to face towards you.
Once you have the shields in place, it’s time to move onto the next step.
9. Put 2 Bearings Back into Each Wheel

Next, it’s time to put your clean quad or inline skate bearings back into those wheels! Grab a wheel and your bearing press. Slide a bearing onto the bearing press, then the skate wheel, then another bearing. Make sure the shields on the bearing are facing out. Then, pull the lever on the press and tada! Your bearings are installed!
Need to save money and don’t have a bearing press? No worries. For most of my wheels I can push the bearing into the wheels with my hands. Just make sure the shield side of the bearing is facing you. This doesn’t work on all wheels. Some aluminum hubs can be especially hard to push them in.
If pushing them with your hands doesn’t work, you can use a hammer to lightly (lightly, I say) tap them back into the wheel. I used to do this all the time when I was a kid with my art wheels.
Repeat this step until you have all the bearings in your wheels.
10. Slide Each Wheel onto Your Skates

Next, for quads, slide the wheel onto the skate axle. For inline skates, you’ll slide the wheel into the skate frame and then insert the axle screw.
11. Tighten the Axle Nut or Screw
Next, on quads, grab the axle nut from your cup and add one to each wheel. Tighten it down enough so the wheel doesn’t move when you push and pull on the wheel and the wheel rolls freely.
On inline skates, tighten the axle screw until it’s tight.
Then, test out the wheel by spinning it. It should spin freely for several seconds with just a light push of the wheels.
12. Test Out Your Just Like New Bearings!

Finally! You’re all done! Go test out those brand new bearings. Wait, they’re not new? Shhhh….don’t tell anyone. Only you and I know they are not brand new. Not that you’ve breathed some new life into those old bearings, it’s time to get skating! Have fun!
Additional Tips For Cleaning Roller Skate Bearings
When you are done cleaning your roller skate bearings, it is important to remember a few other tips to keep them in good condition.
- Clean your bearings after every few uses, especially if you skate in dirty areas.
- If your bearings are really dirty, you can use a brush to clean them off.
- If there is a lot of gunk on the bearings, you may need them to sit overnight in the bearing cleaner to really dissolve the dirt. This is where the brush tip above can pay off. Brush, brush, brush!
- Re-lube your bearings. It really makes a huge difference to making them feel like new again. Just make sure they are clean and dry beforehand.
- Always, always, always dry your bearings before storing them. This helps to prevent rust and corrosion.
If you take care of your bearings, they will last a long time and provide you with a smooth ride.
FAQs
How Often Should I Clean My Roller Skate Bearings?
It is recommended to clean your bearings every few months, or if you skate frequently, once a month.
Why Do I Need To Clean My Roller Skate Bearings?
Dirty bearings can cause your wheels to slow down and not rotate as smoothly. This can affect your skating performance and make it more difficult to stop and start. All the dirt and grime really build up, especially if you are skating outdoors. Cleaning your bearings regularly can really help you enjoy skating more and save money.
What Should I Do If My Bearings Are Really Dirty And I Need A Super Deep Cleaning?
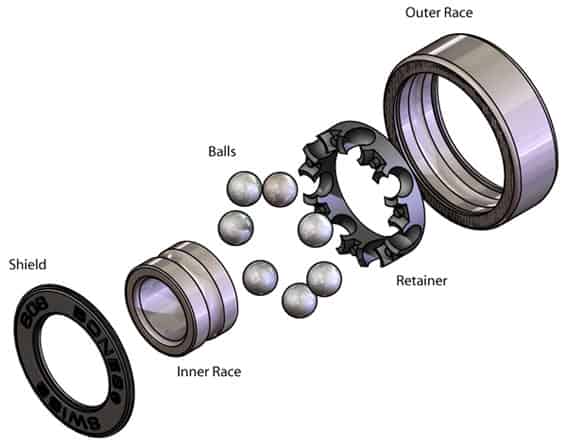
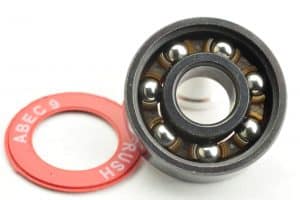
If your bearings are really dirty, you have 2 options. The first option is to buy some new roller skate bearings. The other option is to completely disassemble them and clean them. This means popping the little ball bearings out of their bearing races and getting all the dirt (every single speck!) out of them.
Bearings have 2 races – the inner race and the outer race. The ball bearings fit between those races. To really clean them up, you have to pull those races apart and pop all the ball bearings out. Then, drop everything into cleaning solution and let it sit overnight.
That’s the easy part. The hard part is putting it all back together again. You need some surgeon like precision (just kidding). However, you do need patience. After cleaning, grab the 2 races and the 5-6 ball bearings and surgically snap the ball bearings back into the race.
I’ve done this a few times, and honestly, it’s too much of a pain. Typically when my bearings get this bad, I just buy some new ones. Maybe you have more patience than me. If so, go for it! It’s definitely something to experience at least once in life.
What Should I Do If My Bearings Start To Make Noise After I Have Cleaned And Lubricated Them?
If your bearings start to make noise after cleaning and lubricating them, it may mean that they are not getting enough lubricant. Apply a few more drops of lubricant to each bearing and reassemble the wheels. If the noise continues, it may be necessary to replace the bearings.
Summing Up

Roller skating is a great way to have fun and get some exercise, but it can be difficult and frustrating if your bearings are dirty and you aren’t moving freely. Now that you know how to clean roller skate bearings, you can keep them in good condition and enjoy yourself a whole lot more.
While some of my methods may be more effective than others, it is essential to remember that the most important thing is to use caution when cleaning bearings to avoid damaging them.
By following the tips I have provided, you should be able to clean your bearings quickly and easily. Have you tried any of these methods? Maybe you tried something else I didn’t recommend? Let me know about it in the comments below.
Want to Learn Even More About Skating?
Want more reviews on roller skates? Check out my Best Roller Skates page for a list of all of the quads I recommend. I also have pages for roller skates for men, roller skates for women and roller skates for kids where I recommend the best skates on the market today for each group. Or, check out my roller skates for beginners if you are completely new to roller skating.
Or, if rollerblades or inline skates are more your style, then check out my rollerblades for men, rollerblades for women or rollerblades for kids pages. Or, if you are completely new, check out my rollerblades for beginners page.
What about the nut and bearing shields? What is the best way to clean those? Also, does it matter which way the bearing is facing when you put the wheels back together and back onto the skates?
Hi Kelly – Thanks for the question. I just use soap and water to clean the bearing shields. I don’t use any solvents. Just simply wiping those down with a wet rag and then drying them before reinstalling is best. For the nuts, you can throw those into the same bearing cleaner (if they are that dirty). For me, I usually just wipe mine down with a dry rag. That usually is enough for me. As far as what direction to put the bearings back in, I put my bearing in with the logo on the shield facing out (to where you can see it). I hope that helps and thanks for stopping by.